Showing posts with label home decor. Show all posts

Monday, November 19, 2012

Wardrobe Makeover


This amazingly large wardrobe was salvaged from the back corner of the large barn at Meadowvale.


This barn, in fact. It had seen better days (perhaps because it had been living in a barn for the past two decades) but had "good bones" as my dad likes to say.
This massive piece (it's 5' tall and 6' long!) was made during the heyday of wood veneer. That basically means the piece is solid wood but has a layer of finished veneer all over. When veneer peels and falls off, its very hard to piece back together. I was unable to fix some spots and I figured my best bet was to paint the whole thing.
Because of the sheer size of the wardrobe, I choose a lighter color and new I wanted some sort of detail on the doors. I settled on a super-light sky/turquoise blue and after cleaning, lightly sanding the whole piece and 3 coats of primer, I started applying the blue. Unfortunately, some things just don't go as planned. The color ended up being far too subtle and it looked almost white.


Argh! Back to Home Depot to choose the next color on the Behr paint chip - this time it was Iconic Sky and it was perfect! One more coat of paint and more drying time. Finally it was time for the knobs and pulls. I was so excited to find what I thought was the perfect option at Anthropologie (unfortunately, they are no longer available). Then these pulls were just the thing the doors needed!
The last thing I added was the silver Moroccan pattern. I simply cut the shape out of cardboard, traced around it over and over with chalk, and then hand-painted over the chalk with Martha Stewart's polished silver metallic paint.


The next phase is to perhaps wallpaper the inside. For now, I use it to house sweaters, belts, and purses. I even use the divided drawers for jewelry.

It's currently my favorite piece in the room. That could be because I see my labor of love every time I look at it . . .


Follow me on Twitter: twitter.com/GoodCleanFunPW
Like me on Facebook: facebook.com/goodcleanfunpw

Find me on Instagram: @goodcleanfunpw

Friday, January 6, 2012

DIY Chalkboard

we have a new addition to our kitchen.


i have been looking at this massive blank wall in our kitchen since we moved in. it didn't take me long to decide i wanted to paint a chalkboard on it. it did, however, take me a while to actually paint it.

in typical me style, i decided to start it mid-december on a evening we still didn't have heat finish it the next day while mom and i were baking dozens of cookies. i just finally decided i was tired of looking at the blank wall.


i slapped some frog tape up and started painting. the thing is, i decided to paint magnetic paint on first so it would be both a chalk board and a place we could put pictures. i shook the magnetic paint really well (as in a good 4 minutes) and started painting. 2 coats later (the recommended amount), i could barely get a magnet to stick let alone hold up a picture or a piece of paper. after another coat, i discovered a thick gooey layer of goop at the bottom of the paint can. turns out, i was actually supposed to stir the paint really well not just shake it. oops. one super thick coat later, we were is business. the surface was a little rough, but magnets would stick!

i finished with a 2 thin coats of chalkboard paint and waited to allotted 3 days. truth-be-told, i waited almost 5 days because things got busy. but finally, i followed the directions and covered the entire surface with chalk.


i rubbed it in and then erased it.


apparently, this "primes" the chalkboard paint so it is easier to erase.


so here is the finished product - and i am in love. my plan is to use it for notes and grocery lists. added bonus? E loves it too!

Tuesday, January 3, 2012

Goodbye Christmas

taking down christmas decorations is always kind of sad for me. not only does it signify the end of the holiday season, but lack of decorations makes the house seem empty. the huge pile of pine needles where the tree once was doesn't help much either.

this is the reason i specifically put up some "winter" decorations. there are some things that aren't christmas specific and mostly just winter themed. i figure these i can keep up for a while to ease myself out of christmas.


that's right, i'm keeping the snowflakes in the kitchen window, the glitter pinecones,


the snow trees,


and even the greens on the sunroom mantle with the gold pinecones and snowflakes.


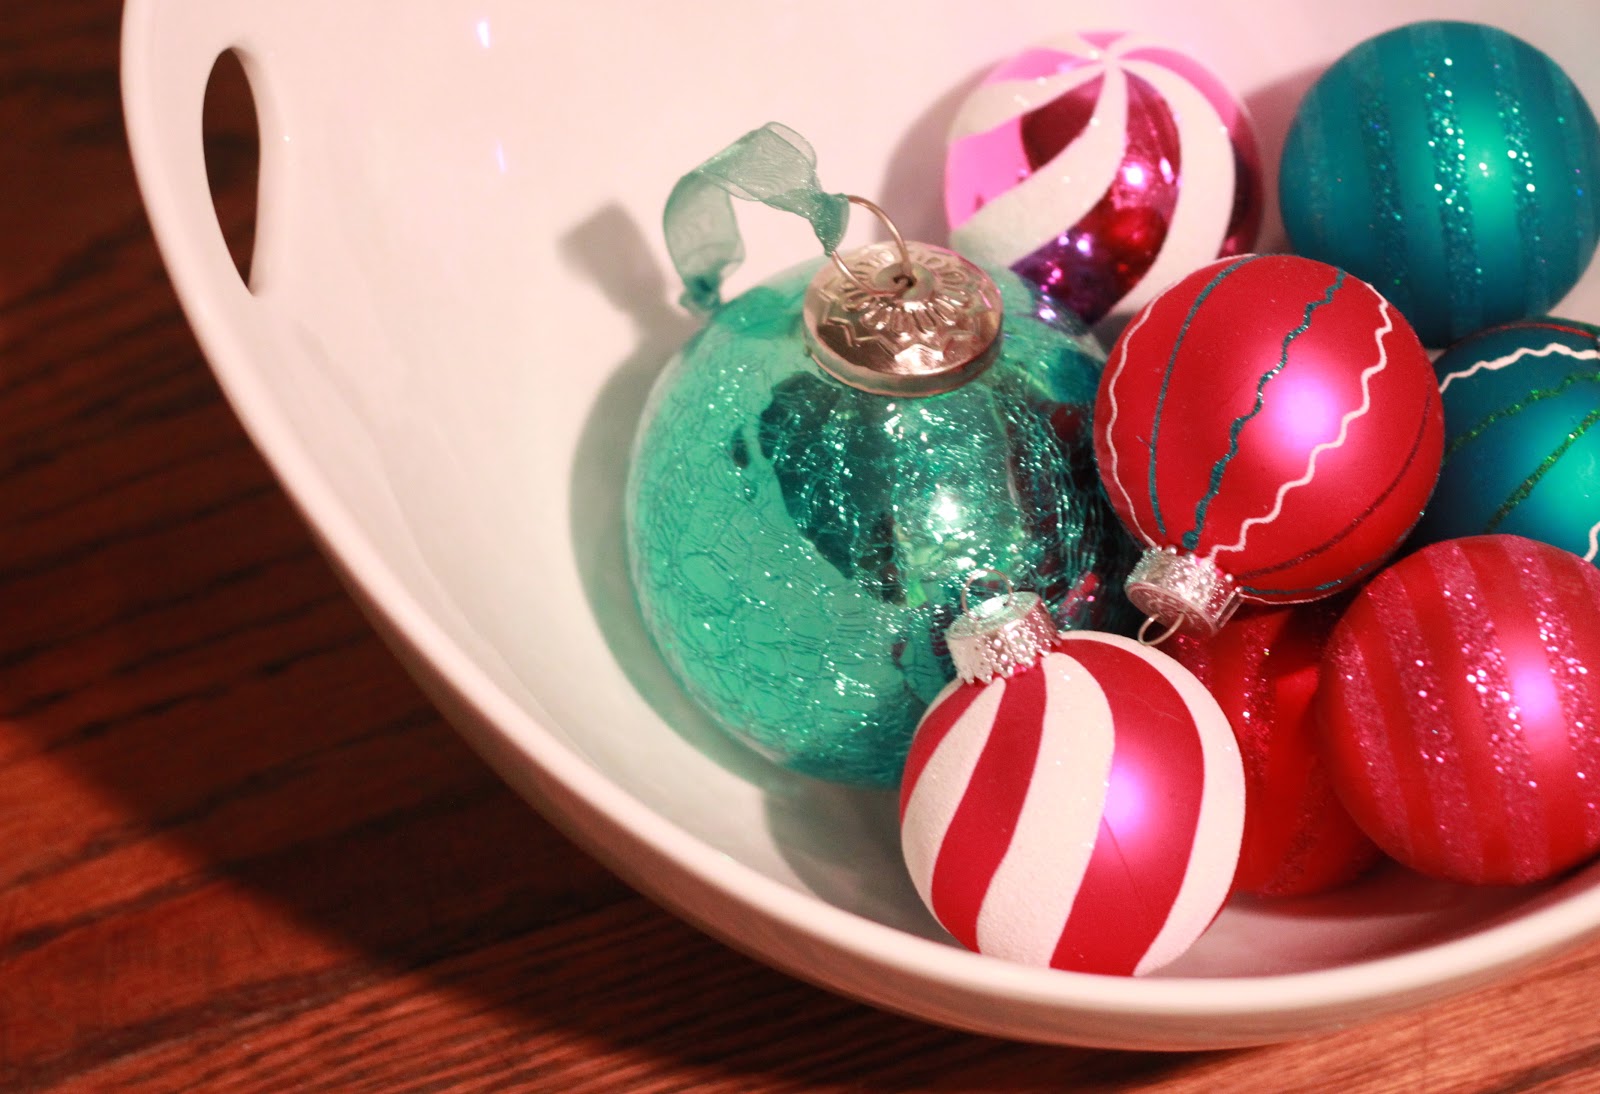
i may even keep the greens in champagne glasses on the dining room table (minus the green christmas balls of course).

so, goodbye christmas, come on snow!

Tuesday, December 13, 2011

Christmas Around Here . . .

our new house has come with it's fair share of headaches but there are some things i love about the house. i am certainly extra thankful for our fireplace and i have loved decorating our house for christmas. it's been fun deciding where to put things and how to holiday-ize our new home. i wanted to give you all just a peek into what i've done. you have already seen my DIY celestial canvas above our main mantel and our tree, but here is a look and some other things i've done.

cue the christmas music . . .


Wednesday, December 7, 2011

One of these things is not like the other . . .

what's wrong with this picture?!?


can someone explain why E's stocking is twice the size of mine?? something doesn't add up . . .


Hostgator promo codes

Monday, December 5, 2011

Project Pinterest - Celestial Canvas


i pinned this image a while ago. i think it actually may have been one of the first things i pinned that first night i stayed up way too late glued to the computer screen, pinning like crazy. i knew when i pinned this in the spring, i wanted to re-create it as part of my christmas decor.

last week i had a coupon for 50% one full-priced item at michaels. (do you all have the michaels phone app? it's awesome - no more clipping or printing coupons. they scan your coupon on your phone. crazy, right. who would have ever imagined that 10 years ago - what will they think of next?? way to save paper michaels. yay for environmentally friendly ways to save $. everyone else should do this - yes you, LOFT and jcrew and wegmans and other places i shop. ok, excuse the rant, back to business!) i knew i wanted to use my coupon to get my stretched canvas for this project.

all you need is 1 stretched canvas (any size you like, i used 18"x24"), 1 strand of christmas lights (i used 100 count regular strand), a piece of cardboard, an x-acto knife (i never in a million years would have thought that is how you spelled that - i had to google exacto knife and it corrected me), and a stencil (optional).


i printed out an enlarged copy of the canvas picture but ended up just free-handing it after about 10 cuts. lay your canvas smooth side down onto a large piece of cardboard. tape stencil to back of canvas (if using) and make a small hole where you want each light to go. i inserted the x-acto knife into the canvas about 1/3 of the way and gave it a 1/4 turn and that seemed to be perfect. you want the hole to be slightly smaller than the light so when you force it through, it stays in the hole. i made 100 holes and then pushed one light into each hole. make sure you start at the top and finish at the bottom of the canvas so you can plug the end of the stand of lights into an extension cord at the bottom. i propped mine up in the middle of the mantle instead of hanging it so you wouldn't see the extension cord hanging out the bottom.


i just love how it turned out! of course, it looks much better in the evening and when it's plugged in but i think it adds a great burst of light above the fireplace. i kept the rest of the mantel simple and silver. the best part? it only cost me $7.49! i already owned everything but the canvas and with my 50% off coupon, it was only $7.49. woo to the hoo!

in all its glory

daytime unlit

daytime lit

 once more, side by side (martha stewart's photography is much better)
Related Posts Plugin for WordPress, Blogger...